 Adobe Creative Cloud
A way to uninstall Adobe Creative Cloud from your computer
Adobe Creative Cloud is a software application. This page contains details on how to uninstall it from your PC. The Windows version was developed by Adobe Systems Incorporated. Open here where you can find out more on Adobe Systems Incorporated. Adobe Creative Cloud is frequently installed in the C:\Program Files (x86)\Adobe\Adobe Creative Cloud\Utils directory, but this location can vary a lot depending on the user's decision while installing the application. Adobe Creative Cloud's complete uninstall command line is C:\Program Files (x86)\Adobe\Adobe Creative Cloud\Utils\Creative Cloud Uninstaller.exe. The application's main executable file is titled Creative Cloud Uninstaller.exe and occupies 2.24 MB (2352016 bytes).Adobe Creative Cloud installs the following the executables on your PC, taking about 6.43 MB (6744696 bytes) on disk.
- Creative Cloud Helper.exe (337.89 KB)
- Creative Cloud Uninstaller.exe (2.24 MB)
- CreativeCloud(URIHandler).exe (592.41 KB)
- CreativeCloudSet-Up.exe (2.71 MB)
- 7za.exe (581.55 KB)
This page is about Adobe Creative Cloud version 2.3.0.322 only. You can find below a few links to other Adobe Creative Cloud versions:
- 3.4.3.189
- 5.0.0.351
- 4.5.0.329
- 4.3.0.116
- 5.2.1.441
- 3.4.2.187
- 3.7.0.270
- 3.2.0.129
- 3.9.0.327
- 4.3.0.256
- 4.5.0.331
- 4.2.0.211
- 5.1.0.407
- 2.8.0.447
- 3.9.0.325
- 4.1.1.202
- 3.1.1.110
- 3.3.0.151
- 4.4.1.298
- 5.4.1.534
- 5.0.0.354
- 2.9.0.465
- 2.7.1.418
- 4.0.1.188
- 2.5.0.367
- 3.7.5.291
- 3.4.0.177
- 2.0.2.189
- 2.0.0.181
- 4.7.0.55
- 5.0.1.383
- 2.6.0.393
- 5.2.0.436
- 3.0.0.74
- 3.9.0.334
- 3.4.1.181
- 2.2.0.248
- 3.1.3.121
- 5.2.0.434
- 2.1.1.220
- 3.9.5.353
- 4.6.0.384
- 2.1.2.232
- 2.4.0.348
- 4.5.0.328
- 3.0.1.87
- 3.5.0.206
- 4.5.5.338
- 4.9.0.504
- 4.8.1.435
- 5.3.1.470
- 3.7.0.271
- 6.5.0.348
- 5.6.5.58
- 5.9.1.377
- 2.5.1.369
- 4.7.0.400
- 5.9.0.372
- 4.1.0.201
- 6.4.0.361
- 5.5.0.617
- 3.7.5.38
- 4.8.2.478
- 5.10.0.573
- 3.1.0.108
- 2.8.1.451
- 3.5.1.209
- 4.0.0.185
- 3.9.1.335
- 2.4.1.351
- 3.8.0.310
- 2.0.0.183
- 6.1.0.587.7
- 3.1.2.114
- 6.3.0.207
- 3.4.0.180
- 3.6.0.248
- 3.0.1.88
- 4.4.0.294
- 3.7.0.272
- 6.2.0.554
- 6.1.0.587
- 2.1.0.213
- 4.2.0.218
- 3.9.0.45
- 4.6.1.393
- 4.8.0.421
- 2.2.1.260
- 2.7.0.413
- 2.9.1.474
- 4.9.0.515
- 4.6.0.391
- 4.8.2.476
Many files, folders and registry entries can not be uninstalled when you want to remove Adobe Creative Cloud from your computer.
Directories found on disk:
- C:\Users\%user%\AppData\Local\Temp\{0BC211B5-182A-4F7D-B339-664960C7245B}\Adobe Creative Cloud
Check for and remove the following files from your disk when you uninstall Adobe Creative Cloud:
- C:\Users\%user%\AppData\Local\Temp\{0BC211B5-182A-4F7D-B339-664960C7245B}\Adobe Creative Cloud\CoreSync\CoreSync_x64.dll
Registry keys:
- HKEY_LOCAL_MACHINE\Software\Microsoft\Windows\CurrentVersion\Uninstall\Adobe Creative Cloud
A way to remove Adobe Creative Cloud from your computer with Advanced Uninstaller PRO
Adobe Creative Cloud is an application by Adobe Systems Incorporated. Sometimes, users try to erase it. This is easier said than done because removing this manually takes some know-how related to PCs. The best QUICK approach to erase Adobe Creative Cloud is to use Advanced Uninstaller PRO. Here are some detailed instructions about how to do this:1. If you don't have Advanced Uninstaller PRO already installed on your Windows system, add it. This is a good step because Advanced Uninstaller PRO is a very potent uninstaller and general utility to clean your Windows system.
DOWNLOAD NOW
- navigate to Download Link
- download the program by pressing the green DOWNLOAD button
- set up Advanced Uninstaller PRO
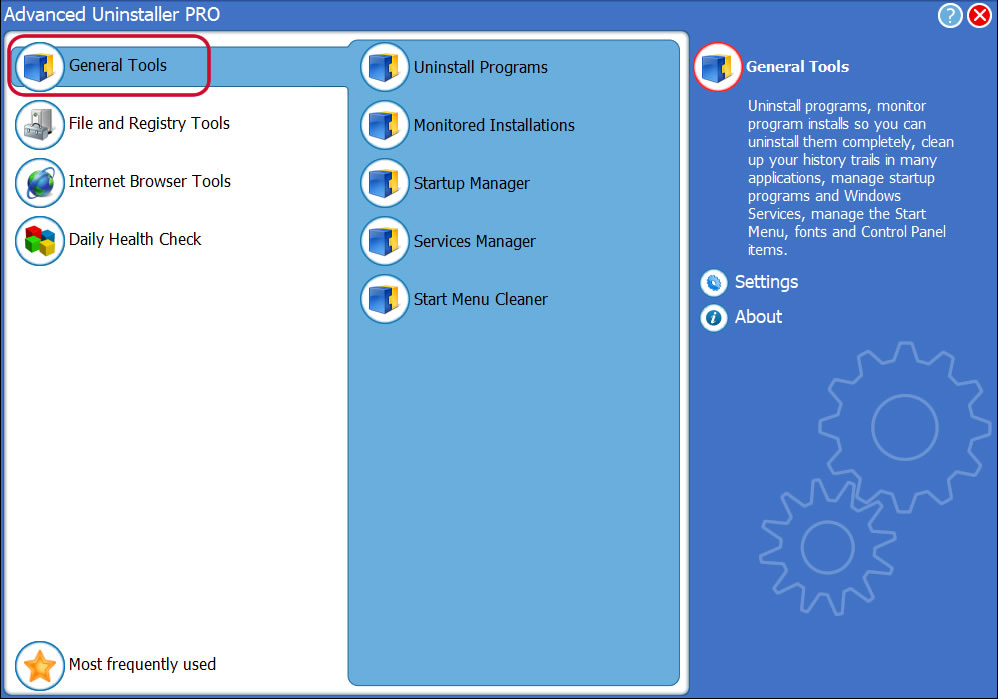
3. Click on the General Tools button

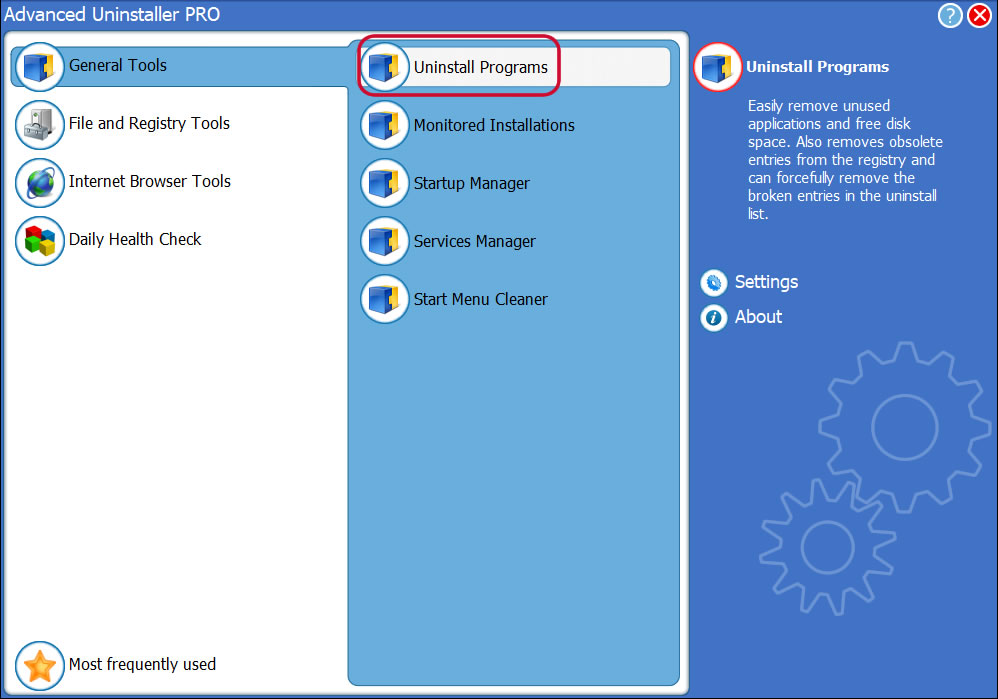
4. Click on the Uninstall Programs button

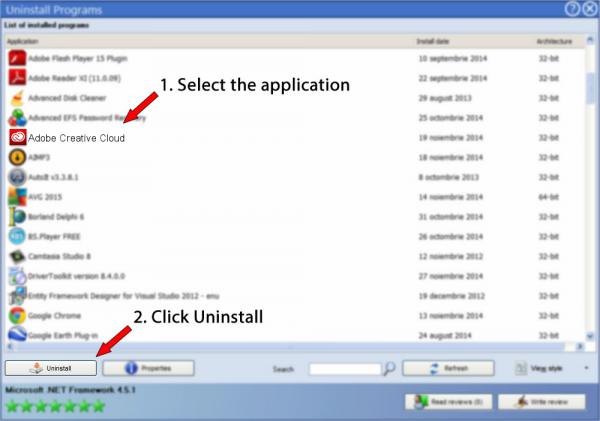
5. A list of the programs installed on your computer will be made available to you
6. Navigate the list of programs until you locate Adobe Creative Cloud or simply click the Search field and type in "Adobe Creative Cloud". If it exists on your system the Adobe Creative Cloud app will be found very quickly. Notice that when you select Adobe Creative Cloud in the list of applications, the following information regarding the program is available to you:
- Star rating (in the lower left corner). The star rating tells you the opinion other users have regarding Adobe Creative Cloud, ranging from "Highly recommended" to "Very dangerous".
- Reviews by other users - Click on the Read reviews button.
- Details regarding the program you wish to uninstall, by pressing the Properties button.

8. After removing Adobe Creative Cloud, Advanced Uninstaller PRO will offer to run an additional cleanup. Click Next to go ahead with the cleanup. All the items of Adobe Creative Cloud which have been left behind will be detected and you will be asked if you want to delete them. By removing Adobe Creative Cloud with Advanced Uninstaller PRO, you are assured that no registry entries, files or folders are left behind on your disk.
Your system will remain clean, speedy and ready to run without errors or problems.
Geographical user distribution
Disclaimer
This page is not a recommendation to uninstall Adobe Creative Cloud by Adobe Systems Incorporated from your computer, we are not saying that Adobe Creative Cloud by Adobe Systems Incorporated is not a good software application. This page simply contains detailed instructions on how to uninstall Adobe Creative Cloud in case you want to. Here you can find registry and disk entries that Advanced Uninstaller PRO discovered and classified as "leftovers" on other users' computers.
2016-06-18 / Written by Daniel Statescu for Advanced Uninstaller PRO
follow @DanielStatescuLast update on: 2016-06-18 19:44:00.700


