 Enterprise Solutions 13
A way to uninstall Enterprise Solutions 13 from your system
Enterprise Solutions 13 is a Windows program. Read below about how to uninstall it from your PC. It is developed by Delivered by Citrix. Go over here for more details on Delivered by Citrix. The program is usually found in the C:\Program Files (x86)\Citrix\SelfServicePlugin folder. Take into account that this location can differ depending on the user's preference. The entire uninstall command line for Enterprise Solutions 13 is C:\Program Files (x86)\Citrix\SelfServicePlugin\SelfServiceUninstaller.exe -u "my-ce01b7c3@@XenApp65:OKC Enterprise Solutions 13". Enterprise Solutions 13's main file takes around 3.01 MB (3153800 bytes) and is named SelfService.exe.Enterprise Solutions 13 is composed of the following executables which take 3.24 MB (3398176 bytes) on disk:
- CleanUp.exe (144.88 KB)
- SelfService.exe (3.01 MB)
- SelfServicePlugin.exe (52.88 KB)
- SelfServiceUninstaller.exe (40.88 KB)
This page is about Enterprise Solutions 13 version 1.0 alone.
How to remove Enterprise Solutions 13 using Advanced Uninstaller PRO
Enterprise Solutions 13 is an application released by the software company Delivered by Citrix. Sometimes, people decide to uninstall this application. This can be hard because uninstalling this manually requires some skill related to PCs. The best QUICK action to uninstall Enterprise Solutions 13 is to use Advanced Uninstaller PRO. Here is how to do this:1. If you don't have Advanced Uninstaller PRO on your Windows PC, install it. This is a good step because Advanced Uninstaller PRO is an efficient uninstaller and all around tool to clean your Windows system.
DOWNLOAD NOW
- visit Download Link
- download the setup by pressing the green DOWNLOAD button
- set up Advanced Uninstaller PRO
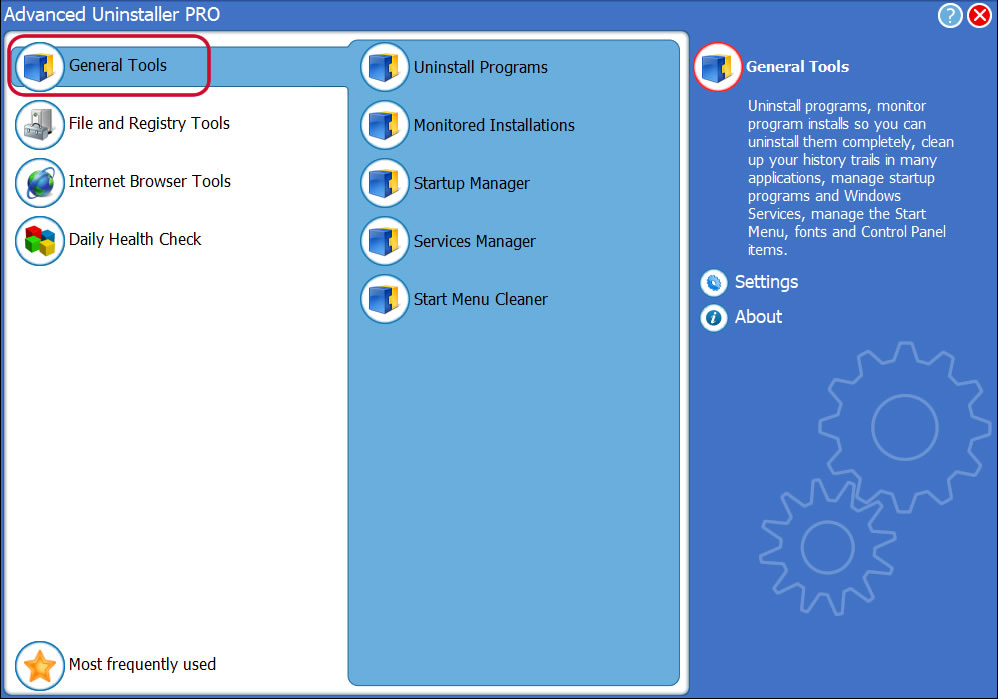
3. Click on the General Tools category

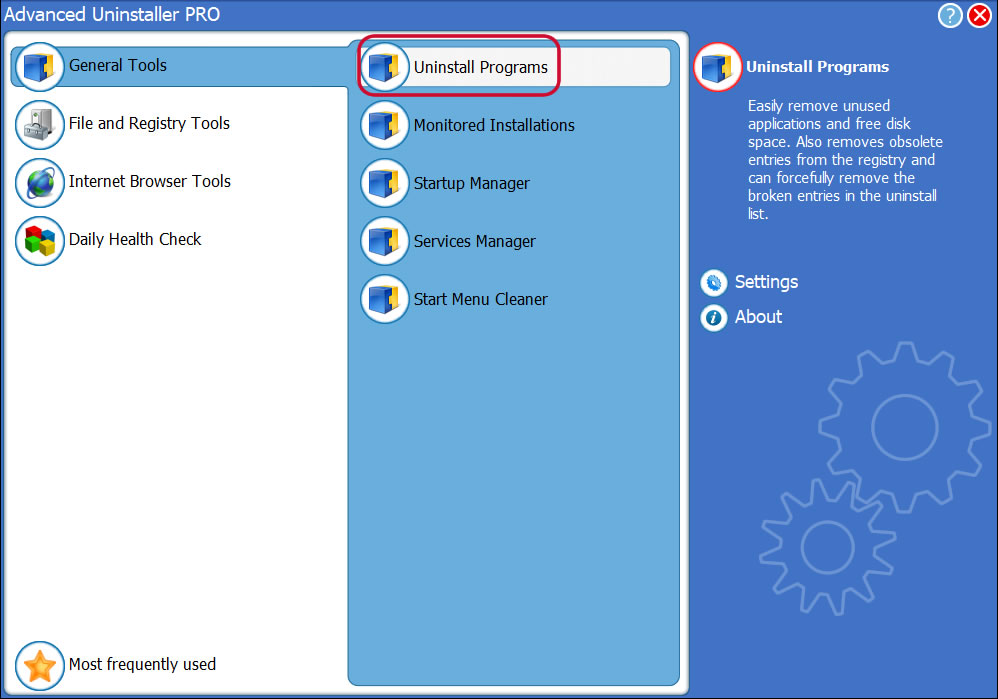
4. Press the Uninstall Programs feature

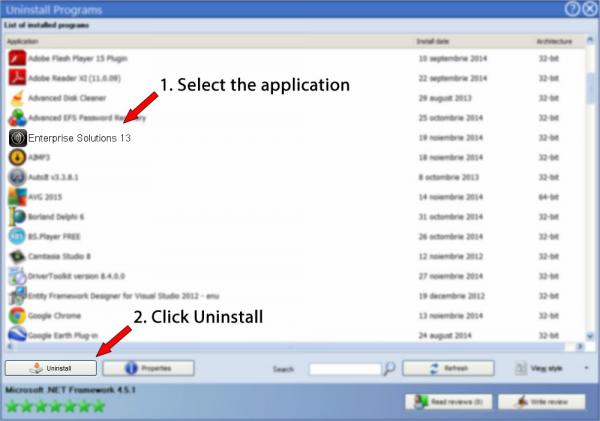
5. All the programs existing on your computer will be shown to you
6. Navigate the list of programs until you locate Enterprise Solutions 13 or simply activate the Search field and type in "Enterprise Solutions 13". The Enterprise Solutions 13 application will be found automatically. Notice that when you select Enterprise Solutions 13 in the list , some information about the program is shown to you:
- Safety rating (in the lower left corner). This explains the opinion other users have about Enterprise Solutions 13, from "Highly recommended" to "Very dangerous".
- Reviews by other users - Click on the Read reviews button.
- Details about the app you want to remove, by pressing the Properties button.

8. After uninstalling Enterprise Solutions 13, Advanced Uninstaller PRO will ask you to run a cleanup. Click Next to start the cleanup. All the items that belong Enterprise Solutions 13 which have been left behind will be detected and you will be asked if you want to delete them. By uninstalling Enterprise Solutions 13 with Advanced Uninstaller PRO, you are assured that no Windows registry entries, files or folders are left behind on your PC.
Your Windows system will remain clean, speedy and able to run without errors or problems.
Geographical user distribution
Disclaimer
This page is not a recommendation to uninstall Enterprise Solutions 13 by Delivered by Citrix from your PC, nor are we saying that Enterprise Solutions 13 by Delivered by Citrix is not a good software application. This text simply contains detailed info on how to uninstall Enterprise Solutions 13 supposing you decide this is what you want to do. The information above contains registry and disk entries that Advanced Uninstaller PRO stumbled upon and classified as "leftovers" on other users' computers.
2015-07-07 / Written by Dan Armano for Advanced Uninstaller PRO
follow @danarmLast update on: 2015-07-07 19:09:53.990
