 WiseCloud Client
A way to uninstall WiseCloud Client from your PC
This web page contains thorough information on how to uninstall WiseCloud Client for Windows. It was coded for Windows by WiseTech Global. Open here where you can find out more on WiseTech Global. WiseCloud Client is usually installed in the C:\Program Files (x86)\WiseTech Global\WiseCloud Client folder, subject to the user's decision. The full command line for removing WiseCloud Client is MsiExec.exe /X{7AF45FD5-82B9-4217-93D9-73D9D7A9963B}. Note that if you will type this command in Start / Run Note you might get a notification for admin rights. The program's main executable file is named WiseCloudClient.exe and occupies 155.73 KB (159472 bytes).The executables below are part of WiseCloud Client. They occupy about 1.32 MB (1381352 bytes) on disk.
- WinzorClientStartup.exe (221.24 KB)
- WiseCloudClient.exe (155.73 KB)
- WiseCloudLegacyClient.exe (485.25 KB)
- WiseCloudTokenClient.exe (486.75 KB)
This info is about WiseCloud Client version 5.8.53 only. You can find below info on other releases of WiseCloud Client:
- 5.6.0
- 5.8.17
- 5.5.8
- 5.0.9
- 5.8.0
- 5.8.25
- 5.0.3
- 1.5.4
- 1.5.2
- 1.0.18
- 1.4.1
- 5.7.11
- 5.6.20
- 1.3.7
- 4.5.9
- 5.5.3
- 5.8.14
- 1.5.5
- 5.6.34
- 4.6.2
- 5.8.24
- 1.0.10
- 1.0.11
- 5.8.18
- 5.5.7
- 1.2.3
- 5.8.11
- 5.8.9
- 5.7.12
- 5.3.0
- 5.6.4
- 5.4.3
- 5.5.1
- 5.6.15
- 5.4.0
- 5.8.46
- 5.6.11
- 4.6.1
- 5.5.0
- 1.4.3
- 5.0.1
How to uninstall WiseCloud Client from your computer with the help of Advanced Uninstaller PRO
WiseCloud Client is an application released by the software company WiseTech Global. Sometimes, people want to erase this program. This is easier said than done because uninstalling this by hand requires some skill related to Windows internal functioning. The best QUICK way to erase WiseCloud Client is to use Advanced Uninstaller PRO. Take the following steps on how to do this:1. If you don't have Advanced Uninstaller PRO already installed on your PC, add it. This is good because Advanced Uninstaller PRO is an efficient uninstaller and all around utility to maximize the performance of your computer.
DOWNLOAD NOW
- go to Download Link
- download the setup by pressing the green DOWNLOAD NOW button
- install Advanced Uninstaller PRO
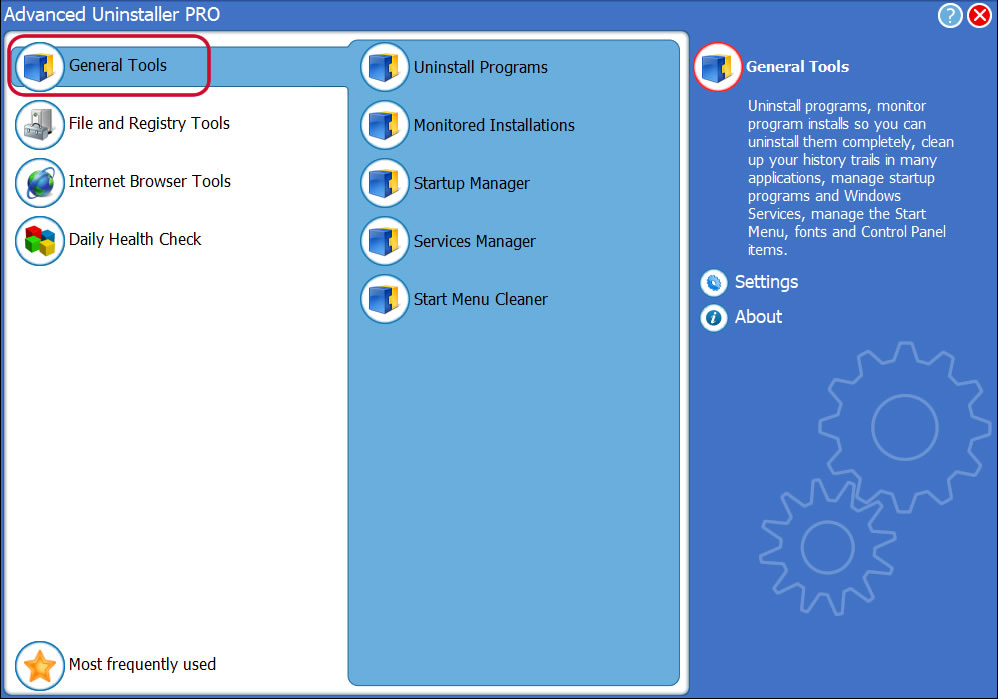
3. Press the General Tools button

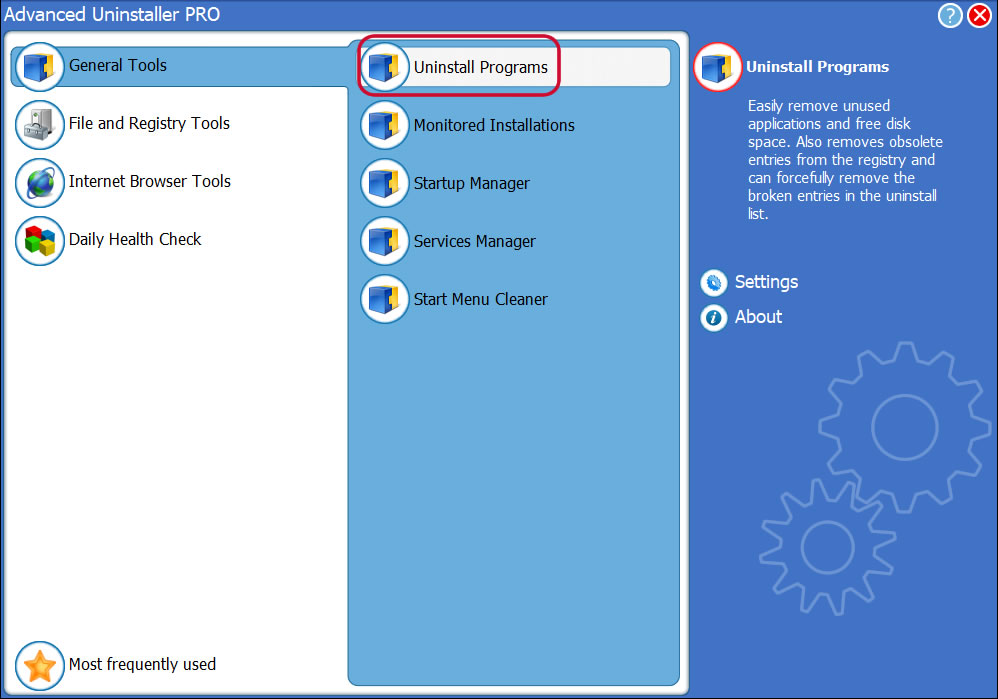
4. Press the Uninstall Programs feature

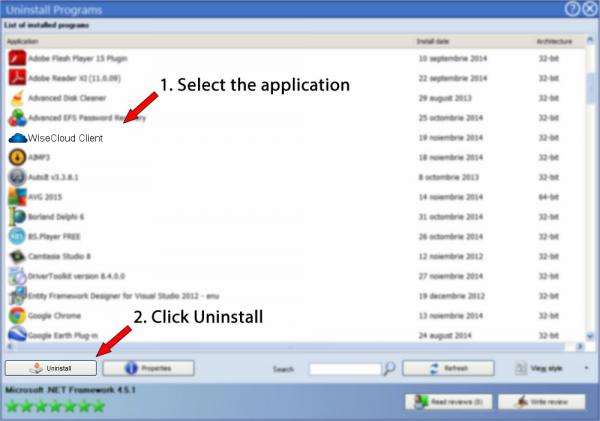
5. A list of the applications existing on the computer will be made available to you
6. Navigate the list of applications until you find WiseCloud Client or simply activate the Search feature and type in "WiseCloud Client". If it is installed on your PC the WiseCloud Client application will be found very quickly. When you click WiseCloud Client in the list , the following data about the application is shown to you:
- Safety rating (in the lower left corner). The star rating explains the opinion other people have about WiseCloud Client, ranging from "Highly recommended" to "Very dangerous".
- Opinions by other people - Press the Read reviews button.
- Technical information about the application you wish to uninstall, by pressing the Properties button.

8. After uninstalling WiseCloud Client, Advanced Uninstaller PRO will offer to run an additional cleanup. Click Next to start the cleanup. All the items of WiseCloud Client that have been left behind will be found and you will be able to delete them. By uninstalling WiseCloud Client with Advanced Uninstaller PRO, you are assured that no Windows registry entries, files or directories are left behind on your PC.
Your Windows system will remain clean, speedy and ready to serve you properly.
Disclaimer
The text above is not a piece of advice to uninstall WiseCloud Client by WiseTech Global from your PC, nor are we saying that WiseCloud Client by WiseTech Global is not a good application. This text only contains detailed instructions on how to uninstall WiseCloud Client in case you want to. The information above contains registry and disk entries that other software left behind and Advanced Uninstaller PRO stumbled upon and classified as "leftovers" on other users' PCs.
2025-02-09 / Written by Dan Armano for Advanced Uninstaller PRO
follow @danarmLast update on: 2025-02-08 22:42:33.257